Mediterranean Grilled Vegetables

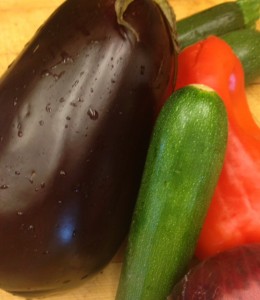
Eggplant, Zucchini, Peppers and Onions are great options for grilling.

Eggplant, Zucchini, Peppers and Onions are great options for grilling.

Many restaurants make this grilled vegetables recipe. Often, these types of grilled vegetables are what people think of when they think of the Mediterranean diet, but interestingly many of the vegetables that are often grilled originate from all over the world  (e.g. squash comes from the America’s , eggplant from Asia, onions from the Middle East etc…) 


Grilled vegetables are delicious served as a fiber rich, gluten-free, healthy, vegan side dish or in a vegetarian sandwich between crusty sourdough or gluten-free bread, or (as a restaurant I worked for served as a special), in between a portobello mushroom “burger” with delicious easy to make garlic aioli.


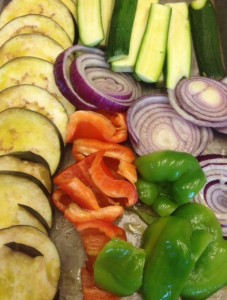
Vegetables cut for grilling.

Vegetables cut for grilling.

Fresh herbs and other flavors are best added after grilling. Do brush the pieces with oil before you grill to prevent them from burning. We make a batch almost every Sunday to keep in the fridge for future salads or snacks.


  • 1 Eggplant, sliced in 3/4″ circles
  • 2 Red, Green or Yellow Peppers ( stem removed and cut in quarters).
  • 1-2 Red or Yellow Onions sliced into 3/4″ slices
  • 2-3 Zucchini and/or Long Yellow Squash, cut lengthwise
  • Olive Oil 
  • Balsamic Vinegar
  • Salt and Pepper
  • Fresh chopped Herbs of choice (optional)
  • Pinch of chopped Garlic (also optional)


Rinse and slice each vegetable for grilling. For peppers, remove the stems and inner veins (the white “pith”) of each pepper with your hands (it’s easier than a knife). Slice the zucchini lengthwise. You could choose to cut the vegetables smaller and use a grill pan with holes so the vegetables would not fall through the grill grates. This is a great, easy grilling option!


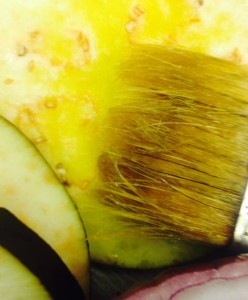
Brush vegetables with oil before grilling to prevent them from burning.

Brush vegetables with oil before grilling to prevent them from burning.

Put some oil in a small bowl, and with a pastry brush, brush oil on each piece (both sides) or better yet, put your kids to work and get them to do it! They start painting in Kindergarten, right? 


Place all the vegetable pieces on a grill and flip the pieces as each side browns. The pieces will finish cooking at different times (around 5 minutes or more on each side) depending upon their size and also where you place them on the grill as most grills have some hotter areas where items cook more quickly. Flip and remove pieces as they look ready. You can also grill on a grill plate on top of your kitchen burners (as you may have seen on TV on the Foodnetwork or other cooking shows) or even George Foreman type electric grills work well with this recipe!


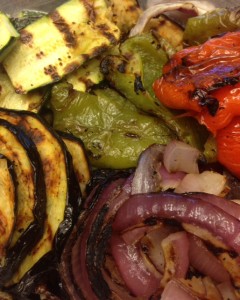
Vegetables after grilling.

Vegetables after grilling.

When vegetables are done, add salt and pepper and a litle more olive oil and  balsamic vinegar (or other light dressing). If you like, add a small chopped clove of garlic (or substitute a pinch of granulated garlic or garlic salt), plus any fresh, chopped herb like fresh basil. We usually omit the herbs and garlic. But herbs and garlic add a nice flavor. These vegetables are even better the next day!

Hong Kong Milk Tea

Iced tea is one of my favorite homemade beverages to make and keep in the fridge. Not only is it as easy as boiling water (and adding and removing the tea bags ) but its also an amazingly inexpensive alternative to other store-bought beverages and therefore

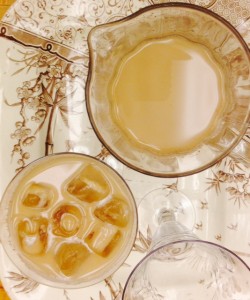
Sweet and luscious. Easy Hong Kong Milk Tea.

Sweet and luscious. Easy Hong Kong Milk Tea.

extremely budget-friendly. Snapple-like mixtures are easy to recreate by adding lemon, berries, mint, cucumber or other fun additions from the garden.  


Instead of adding sugar, you can add any sweetener you like such as honey, agave, Stevia or even no sweetener at all so it’s also easy to make your own “diet” iced tea blends. Use Almond Milk if you are a Vegan.


This tea is my daughter’s favorite and like all the recipes I share here, amazingly easy. Because I don’t really like the flavor of Green Tea but it has excellent health benefits, I sometimes add a Green Tea bag in with the Black Tea  which masks the flavor of the Green Tea completely. I also love making this tea with Earl Grey tea. 


  • 5 Black Tea bags
  • 1 Quart Water
  • 1 can of Condensed Milk (sweetened or unsweetened) or 1 C Cream or  1 1/2 Cups Half and Half or Milk, or 1 Cup Almond Milk 
  • 1/2 Cup Sugar (omit if you are using sweetened milk. You can also add any preferred sweetener).


Tear the paper tops off of the tea bags and place in a pot full of water.


Add the sugar or sweetener to allow it to melt into the water when heating.


Bring water to a boil, then turn off the flame and let the tea bags steep for 10 minutes or longer if you prefer until the color of the water is nice and brown.


Remove the tea bags, pour the tea into a pitcher, add the condensed milk or other milk. Mix, chill and enjoy with or without ice. 


Easy Caramel Sauce

While traditional Caramel Sauce needs a candy thermometer, that is way too difficult for my lifestyle right now. One of the best parts about this recipe (like what I try to do with all of the recipes I share here) is that you cannot make any mistakes , (a little less sugar or a little less butter, no problem!). You also can whip it up in no time with ingredients that most everyone has readily available in their kitchen. This sauce works really well on top of baked apples and drizzled on apple pie. 


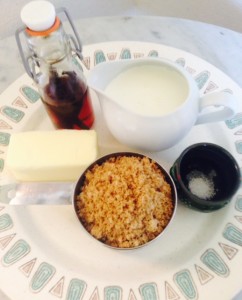
Ingredients for caramel are usually in everyone's kitchen cupboards.

Ingredients for caramel are usually in your kitchen already.

  • 1 Cup Brown Sugar
  • 1 Stick Butter
  • 1 Cup Cream (or Half and Half)
  • 1 Tablespoon Vanilla
  • 1 teaspoon salt (unless your butter is salted, than a pinch will do fine).


Put all ingredients except vanilla in a pot over a low flame. Whisk to melt butter.

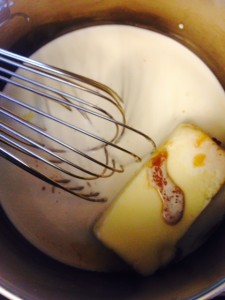
Whisk ingredients except vanilla over a low flame.

Whisk ingredients except vanilla over a low flame.


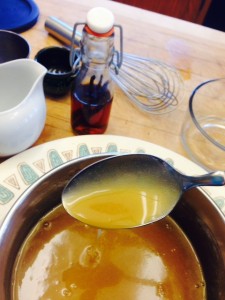
Once the caramel is thickened, put in the fridge to thicken more.

Once the caramel is thickened, put in the fridge to thicken more.

Continue to whisk until the mixture thickens. Remove from flame and stir in vanilla.


Store in glass container and put in the fridge. Caramel will continue to thicken in the fridge.


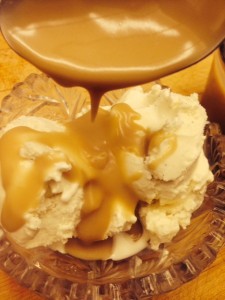
Homemade Caramel made with milk, butter and cream. So easy!

Homemade Caramel made with milk, butter and cream. So easy!

My husband and daughter are ice cream afficianados. That is to say, they are very particular about the type and kind of ice cream they eat and exactly what tops it. This sauce is family approved.

Homemade Limoncello

I love making gifts for people. And, food gifts are especially nice because they think of you and how much time and love you put into their gift while enjoying it. One of the items I love to make is homemade Limoncello. Living in California, it’s easy to grow lemons. The tree I planted only a few years ago is now blessing me with lemons on a regular basis. While we’ve contemplated moving to other places, I’m not sure I could live anywhere that I couldn’t have a lemon tree. Luckily for everyone, lemons are always available in every market. Be sure to use only organic lemons since the skin is what is used for this recipe.


I tried making a batch with herbs and a batch with Vanilla bean and they were not as good as the original, simple Italian recipe. You can double this recipe easily if making several bottles. 


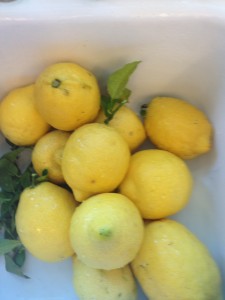
One of the benefits of living in California is being able to grow your own Lemons.

One of the benefits of living in California is being able to grow your own Lemons.

  • 12 Lemons (Organic) 
  • One 750 ml Bottle Vodka or Everclear*
  • 4 Cups Sugar (or less if you prefer)
  • 4 Cups Filtered Water


After rinsing and drying your organic lemons, use a potato peeler (my favorite is Cutco brand) to peel off all of the top yellow layer of the lemon skin (you do not want to get much of the white “pith” as it is a little bitter). 


Put the lemon peels into a sealable glass gallon container that has been sanitized in your dishwasher or if you don’t have a dishwasher, boil the container and it’s lid in pot full of water for at least 15 seconds. 


Add the alcohol. If you are using Everclear, *add an additional 2 to 3 cups of filtered water to dilute it a bit since Everclear is 190 proof. 


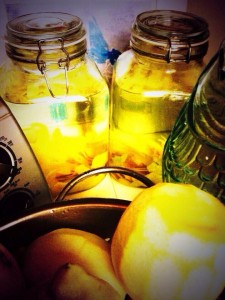
Let your lemon and alcohol sit for anywhere from 2 weeks to 2 months before adding the simple syrup and bottling.

Let your lemon and alcohol sit for anywhere from 2 weeks to 2 months before adding the sugared  syrup and bottling.

Put into a dark place and let sit for a couple of weeks to a couple of months. The longer you let it sit, the better it will taste.


When ready to bottle, make your simple syrup by heating filtered water in a pot on a medium flame, add your sugar and stir until it’s melted in and then immediately remove from the heat and let cool completely. 

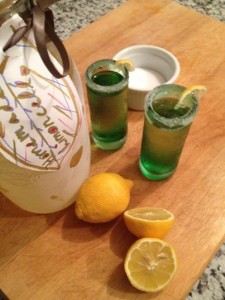
Meme enjoyed the Limoncello I made for her recently. This makes me happy!

Meme enjoyed the Limoncello I made for her recently. Yay!

Add the cooled simple syrup to your lemon and alcohol mixture and stir. Strain into bottles and enjoy! Throughout the year, I like save my clear Tequila and Vodka bottles to reuse for Christmas gifting. 

 easy limoncello recipe great food gift